

Use the guardrail reference at the walking-working surface. In covered U.S. general-industry systems, check the 42 in top edge plus or minus 3 in, the intermediate member and the controlled load path.
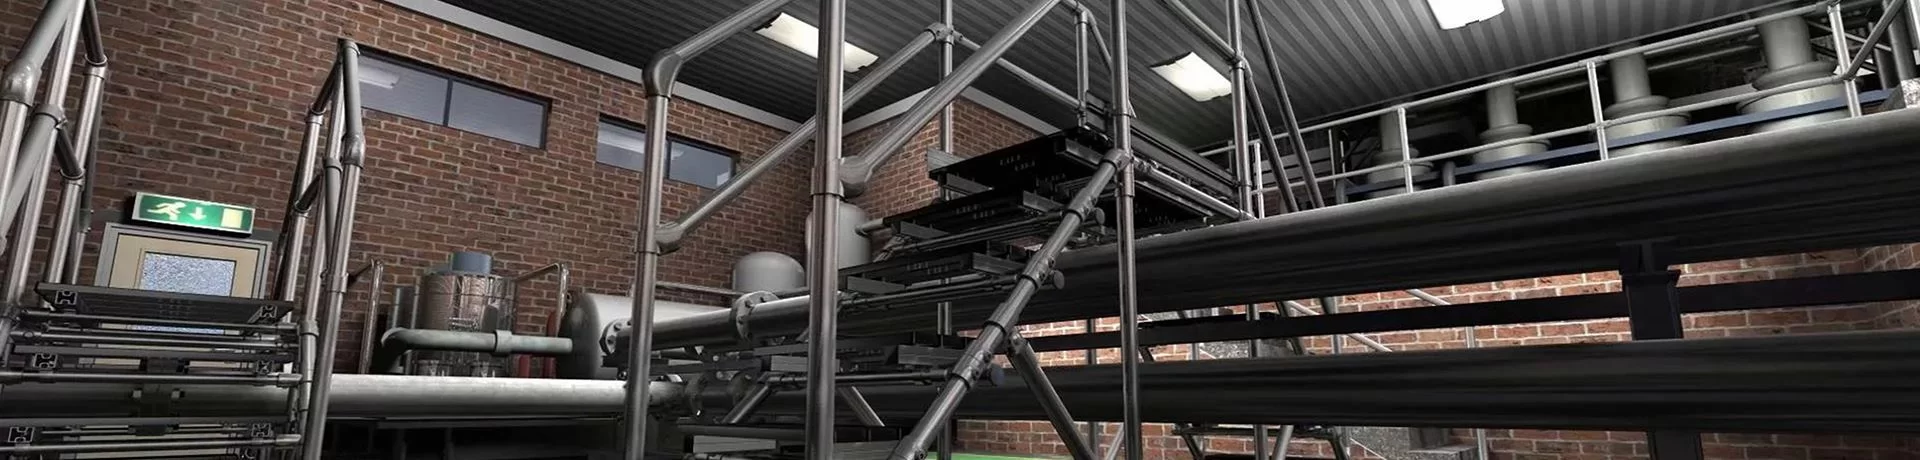 Industrial Safety Railing Inspection Checklist
Installed-system inspection
Inspect the system, not the surface
An industrial railing passes inspection only when its intended duty is clear and the evidence supports continued use. That sounds stricter than a walk-through, and it should. A rail can look orderly while a post has moved, a fitting screw is missing, or a handrail has been measured as though it were a guardrail.
Use this checklist to inspect one installed run from the walking surface outward. First identify whether the run is a guardrail, stair handrail, stair rail or another form of guarding. Then measure the geometry tied to that duty, follow the load path through rails, fittings, posts and anchors, record every defect with a disposition, and recheck any repair against the original basis.
The result should be a record, not a general impression. A run may pass, remain in service with a dated repair action, be held until engineering or supplier information is available, or be stopped and isolated. Those four outcomes drive the rest of this procedure.
Inspection console
Read the run as a decision system
Start with the duty, keep the measurement reference visible, then decide what the evidence allows.
Start with the duty, drawing and inspection basis
Rule selector
Choose the duty before accepting a measurement
The selected duty changes the reference surface and the evidence the inspector must retain.
GuardrailProtects a walking-working surface opening.
Use the guardrail reference at the walking-working surface. In covered U.S. general-industry systems, check the 42 in top edge plus or minus 3 in, the intermediate member and the controlled load path.
Measure from the stair-tread leading edge to the handrail top. In covered U.S. general-industry systems, the cited range is 30 to 38 in. This result does not approve a separate guardrail opening.
Confirm the applicable drawing and local requirement. A stair rail and a stair handrail are not interchangeable inspection labels.
Identify the approved basis before measuring the installed run. If that basis is missing, record Hold instead of borrowing dimensions from another duty.
Two railings can follow the same construction pattern and carry different duties. A stair handrail helps a person keep balance along a stair. A guardrail protects a walking-working surface opening. A stair rail is not automatically a handrail, and a wall rail does not become a guardrail because it uses the same pipe and fittings.
Roadside guardrail inspection forms, warehouse protective rail audits and cable-railing checklists use different hardware, failure modes and acceptance records. This page covers fixed industrial walking-working-surface protection built from rails, posts and fittings. If the asset is a roadside barrier or a cable railing, use the approved procedure for that system instead of borrowing this one.
Before anyone measures a tube, fix five pieces of information on the record:
- the location and unique name of the railing run;
- the duty the run is meant to perform;
- the approved drawing, sketch or installation record;
- the applicable local standard or client specification;
- the previous inspection, repair and incident history.
If the duty or approved basis is missing, the run cannot receive a clean pass from appearance alone. Mark it hold and obtain the missing information. This is not administrative fuss. A measurement has meaning only against the duty and the reference surface used for the check.
Use one reference surface for the whole run. For a stair handrail, the regulation cited below measures from the leading edge of the stair tread to the top surface of the handrail. For a guardrail, the top-rail measurement starts at the walking-working surface. Writing “handrail at 900 mm” without the reference point tells the next inspector very little.
The industrial safety railing systems page is the right starting point when the team still needs to choose a system arrangement. This checklist begins after the arrangement exists and must now be verified, maintained and reaccepted.
Measure geometry by duty, not by habit
Reference surfaces
One railing, two different measurements
Start at the surface named by the duty. The same tape reading can be correct on one member and irrelevant on another.
Record each changed section, the intermediate member and any opening created by missing or displaced infill.
Record the reference point used for the flight. Do not use this result to approve a guardrail opening.
Bring a tape, a level or straightedge where needed, a marker, access equipment and a camera. Record the location of every measurement. A single height reading at the most convenient post does not describe a long run with changes in floor level, slope or repair history.
For covered U.S. general-industry guardrail systems, 29 CFR 1910.29 gives the following criteria. They are standard requirements, not HULK product ratings.
| Check | Reference criterion | What to record |
|---|---|---|
| Guardrail top edge | 42 inches above the walking-working surface, plus or minus 3 inches | Each changed section, not only the first post |
| Top-rail load path | At least 200 pounds applied downward or outward within 2 inches of the top edge at any point along the rail | Visual condition, fixing condition and whether a controlled test is required |
| Downward deflection | Top rail does not deflect below 39 inches under the specified downward test load | Test location, procedure and result when a competent person performs it |
| Intermediate member | Midrail midway between the top edge and the walking surface when there is no wall or parapet at least 21 inches high | Measured level and any missing or displaced member |
| Intermediate capacity | At least 150 pounds applied downward or outward at any point along the member | Condition and fixing evidence; no hand-pressure substitute |
| Vertical-member openings | No more than 19 inches wide where intermediate vertical members provide the protection | Widest opening in each changed section |
| Stair handrail | 30 to 38 inches from the leading edge of the stair tread to the top surface | Start, middle and end of each flight or the approved sampling plan |
That table is useful only after the inspector confirms that the standard applies. Other jurisdictions, client specifications and site risk assessments can set different or additional requirements. The site may also use a design that meets an equivalent performance route. Do not mix criteria from two standards into one pass result.
Measure around obstructions and transitions. A run may meet the normal height at mid-span and drift at a landing, gate or new extension. Look for the local exception. Repair work often leaves one section different from the rest of the run.
Openings deserve their own reading. A midrail can be at the correct height while broken or missing infill leaves an opening that changes the protection. Vertical-member spacing, toe boards, screens and gate gaps should be recorded for the duty and specification in force. Do not infer a universal opening rule from one dimension in a table.
Trace the load path from rail to anchor
Load-path explorer
Follow the connection, not only the visible tube
Select a stage to review the applicable inspection evidence. All stages remain visible as the static fallback.
Inspect height, continuity and visible section changes before following the path down.
Confirm the joint geometry, full tube seating, fixing presence and fitting condition.
Check plumb and look for cracking, distortion, heavy corrosion or abnormal movement.
Look for base movement, anchor distress, an enlarged hole or an interrupted connection.
Confirm where the force is received and whether later work changed the original connection.
Mark the defect location, disposition and any reason why a controlled check is required.
An inspection that stops at the tube surface misses the parts that turn separate components into a system. Start at the top rail and trace each path of force through the fitting, post, base fixing and supporting structure. Repeat for every intermediate member and every terminal or corner where the run changes direction.
Check the following at each joint:
- the tube is fully seated in the socket;
- the correct fitting is present for the joint geometry;
- fixing screws or bolts are present and show no obvious backing out;
- the fitting body is not cracked, distorted or heavily corroded;
- the post is plumb enough to preserve the designed geometry;
- the base plate, anchor or embedded connection shows no movement or distress;
- adjacent components do not show a recent repair that changes the original load path.
Hand movement can reveal a loose post or a rocking base. It cannot establish the 200-pound or 150-pound acceptance criteria. A controlled load check belongs to a competent person using the applicable test method. The inspector records why a check is needed and keeps the run out of service when the condition raises doubt about the load path.
Mixed components need special attention. A replacement fitting from a different series may tighten onto the tube while changing socket depth, material or surface treatment. The pipe railing fittings category shows the range of HULK component types. The inspection record still needs the actual installed identifier, not just the category name.
Look at the whole connection after a repair. A new screw in an old fitting may look correct and still leave the joint loose if the tube is not seated. A new post may restore height while leaving a base anchor that has already enlarged its hole. These are system changes. Treat them as such.
Inspect surface condition and the site environment
Exposure lens
Read the environment before calling a defect cosmetic
The site exposure changes the maintenance question, not the definition of a defect.
Inspection focusDry indoor
Coating damage and debris still matter.
Corrosion, coating damage and trapped debris change the maintenance action. They do not automatically equal a stop-use defect, and they cannot be dismissed as cosmetic.
Record the environment along the run: indoor dry area, wash-down zone, humid room, coastal exposure, chemical splash, road salt, process dust or another condition named by the site. The same rust stain means different things in a dry warehouse and an acid-splash area.
At each post base and fitting, look for:
- coating breakdown at cuts, scratches and fixing heads;
- rust staining that points to a damaged surface beneath the coating;
- white or powdery corrosion product;
- debris holding water around a base or joint;
- standing water, poor drainage or damaged sealant at a penetration;
- paint or powder coating that may hide a crack or movement.
Do not wire-brush a suspect crack or remove a coating during a routine inspection unless the site procedure allows it. A deeper check may be needed. Record the location and use a close-up photograph.
Surface treatment selection is part of the repair decision. A field touch-up that hides the original finish difference can make a later inspection harder. Ask for the installed finish and the approved repair method. Where the business record does not provide a repair specification, use this line: Contact us for details.
Check access, gates and temporary conditions
The railing is not inspected in isolation from the access route. A gate that no longer closes, a displaced toe board or material stacked against the rail changes how people move near the opening.
Walk the full protected edge. Check the terminal ends, corners, gates, removable sections and transitions to walls or other structures. Look for missing end closures, gaps that bypass the rail, and temporary barriers that have become permanent without design review.
Record:
- gate alignment and latching condition;
- signs of impact or forced opening;
- missing or loose toe boards where the duty requires them;
- material, cable trays or equipment bearing against the rail;
- new openings created by later work;
- temporary rails, chains or tapes that may be mistaken for the permanent protection;
- access equipment or stored material that prevents a proper inspection.
Temporary protection needs a named owner and an end condition. “Tape is up” is not a durable control. A stop-use zone should make the hazard obvious, prevent normal access, and remain until repair and recheck are complete.
Assign one of four dispositions
Finding-to-action
Make the observation produce a disposition
Choose the closest observable condition. Use the governed table below for the final decision.
GuidanceChoose a condition
The table below remains the final guide.
The checklist has to change the next action. Use four dispositions and define them in the inspection procedure before the first run is reviewed.
| Disposition | Use when | Required action |
|---|---|---|
| Pass | The duty, basis, geometry, load path and condition meet the applicable criteria | Sign the record and schedule the next inspection |
| Monitor | The defect is local, stable and does not compromise the protection | Set a dated repair or review action and a recheck point |
| Hold | Information, access or evidence is incomplete, or the defect needs a qualified decision | Restrict the affected use until the basis is recovered or the repair is specified |
| Stop | Geometry, anchorage, connection or condition cannot be shown to protect the opening | Isolate the run, use a controlled temporary measure and arrange repair and recheck |
Pass is not a reward for finding few items. Hold is not a failure of the inspection. It is the correct result when the record lacks the information needed to prove fitness.
Use stop for visible movement at a post base, a cracked or distorted load-bearing fitting, a missing anchor with no equivalent load path, a displaced section that changes the height, or impact damage that has not been reviewed. Use hold for a missing drawing, an unidentified replacement fitting, or a measurement taken from the wrong surface. Use monitor only when the defect is stable and local, with a named repair date.
One failed item does not always stop the whole site. One failed load path can stop the affected run. Define the isolation boundary in the record. People need to know which opening is protected and which route must remain closed.
Set frequency from risk and change
The regulation cited above does not give the maintenance team a single weekly or monthly interval that fits every site. Use the manufacturer instructions, the site risk assessment, the environment, use intensity, inspection history and local requirements.
At minimum, create triggers as well as a calendar:
- before first use after installation or modification;
- at the interval set by the site procedure;
- after impact, abnormal movement or a report of damage;
- after work that adds, removes or relocates a rail;
- after a change in process, traffic or exposure;
- before returning a held or stopped run to service.
HSE guidance on maintenance of work equipment supports regular maintenance by a competent person, the use of manufacturer instructions and a procedure for reporting damaged or faulty equipment. Those are process controls. They do not replace the railing standard or the site's own risk assessment.
If the team has no interval yet, start with a documented risk-based decision and adjust it from inspection findings. Do not invent a precise frequency in this article and call it a universal rule.
Use a repeatable field sequence
A consistent route through the inspection reduces missed sections. This sequence works for a walk-through and can be expanded for a larger site.
Keep the sequence visible in the field template. An inspector who starts with bolts and never checks the reference surface can create a detailed record that still misses the controlling condition.
Record evidence that another person can use
An inspection form is useful when a second person can locate and understand the finding without asking the original inspector to remember it. Store the following fields:
| Record field | Example decision it supports |
|---|---|
| Run ID and location | Prevents the wrong railing from being repaired |
| Duty and governing basis | Separates guardrail, handrail and local requirements |
| Drawing or installation reference | Shows whether the present geometry matches the approved arrangement |
| Measurement and reference surface | Makes the reading repeatable |
| Defect type | Separates height, opening, joint, anchorage, coating, access and documentation |
| Photograph and location marker | Supports later repair and recheck |
| Disposition | Pass, monitor, hold or stop |
| Temporary control | Defines the protected boundary while repair is pending |
| Owner and due action | Prevents an open finding from disappearing |
| Recheck result and date | Shows whether the run returned to service |
Use the same identifier in the sketch, photographs and work order. “Front post loose” becomes hard to trace after several shifts. “R-03, northwest corner, base plate 2” survives handover.
The record should identify who inspected the run and what competence or procedure supported a load test, if one was performed. Do not place a signature on a test result that was not actually measured or observed.
Repair, then recheck against the original basis
Reacceptance route
A repair becomes complete when the same record closes
- 01Define the defect
Name the failed component and why it needs replacement.
- 02Restore the system
Confirm the replacement, anchor or support, finish method and holding control.
- 03Repeat the original checks
Measure the same height, member position, opening, joint and anchorage points.
- 04Release with evidence
Clear Hold or Stop only after the missing evidence or failed load path is resolved.
A repair is complete only when the defect and its cause have been addressed. Replacing a missing screw may close the immediate finding while leaving an unseated tube or an incompatible replacement fitting. Repainting may hide corrosion without restoring section thickness or connection condition.
Before repair, define:
- the failed component and the reason for replacement;
- the approved replacement or an equivalent review;
- the anchor or support condition;
- the finish repair method;
- the temporary control that remains in place;
- the measurements to repeat after repair;
- who will verify the load path when a visual check is not enough.
After repair, repeat the same inspection points that produced the original disposition. Compare the measured height, intermediate-member position, opening width, joint condition and anchorage with the approved basis. Update the sketch if the repair changed the run.
Do not clear a hold because the parts arrived. Clear it because the missing evidence has been resolved and the installed condition has been checked. Do not clear a stop because the visible dent was painted. Clear it when the affected load path has been repaired and verified by the approved method.
The installation article how to install a roof safety railing is useful when the defect comes from a new build or a changed connection. Use the inspection record to identify the failed installation decision. Do not turn the maintenance checklist into a generic installation sequence.
What to send when replacement parts are needed
Local RFQ builder
Prepare the replacement inquiry before contacting the supplier
Select the evidence available for the run. This page does not send or store the summary.
The first message should answer the supplier's practical questions. Send the project location, quantity, component photographs and the installed identifier when one exists. Add a dimensioned sketch or drawing, the tube outside diameter, the joint type, the current finish and the environment.
Explain whether the need is a direct replacement or a repair of a changed arrangement. A close-up of the fitting alone may not show the socket depth, post spacing or anchor condition. One wider photo with a marked location saves a round of questions.
For inspection-driven purchasing, HULK can review the visible component and arrangement information. The site does not publish a general load rating, torque value or service life for every application. Where those details have not been verified for the installed system, use this line: Contact us for details.
Use the contact page when the site team can provide the run record, drawing, photos and quantity. Do not ask the supplier to certify a system from a photograph when the design basis and anchorage are not visible.
Common questions
7 questions shown
Does this checklist certify the railing?
No. It records the basis and the observed condition. A competent person, engineer or approved test procedure may still be required for capacity, anchorage or a disputed design.
Is a handrail the same as a guardrail?
No. The duty and measurement basis differ. A handrail along a stair and a guardrail at a walking-working surface opening should not share one inspection line without a duty label.
Is there one universal inspection interval?
There is not one interval in this checklist. Use local requirements, manufacturer instructions, risk, environment and change history. Add event triggers after impact, modification or reported damage.
Can a visual check replace a load test?
No. A visual check can identify a condition that requires a controlled test, but it cannot prove the 200-pound or 150-pound force criteria or the downward-deflection criterion.
What if only one fitting is damaged?
Inspect the load path around it. The fitting, tube seating, adjacent members, post and anchor may have changed together. Replace only after the affected arrangement has been identified and the repair basis is clear.
When should the run stop use?
Stop when the affected opening cannot be shown to remain protected. Movement, a damaged load-bearing member, an anchor failure, an unreviewed impact or a geometry failure that has not been isolated are stop conditions.
What should the next inspector inherit?
The drawing or basis, the run sketch, prior measurements, defect photographs, disposition, repair history, temporary control and recheck result. A completed checkbox without those references is a weak handover.
Final field check
Before the record closes, confirm that the run has one duty, one reference basis and one current disposition. Check that every stop or hold has a physical control at the affected opening. Check that every monitor finding has an owner and date. Check that a repaired run has been measured again.
The checklist is working when it produces a decision another person can audit. A clean-looking rail is not enough evidence. A measured run, a traced load path and an honest disposition are.
Build Business With HULK.